Below are links to the associated procedures and guidelines:
- Safety Information (link)
- Emergency Off Switch/Emergency Shut Down provided by Advantest V93000 or Facility
- Start Up Procedure
- Docking a Fixture or Diagnostic Plate (link)
- Docking to Handler or Prober (link)
- Shut Down Procedure
Start Up Procedure:
- All steps in the To Attach a RI8611A Cassini V93K CTH Infrastructure to Advantest V93000 SoC Tester procedure has been completed.
- Connect in any order:
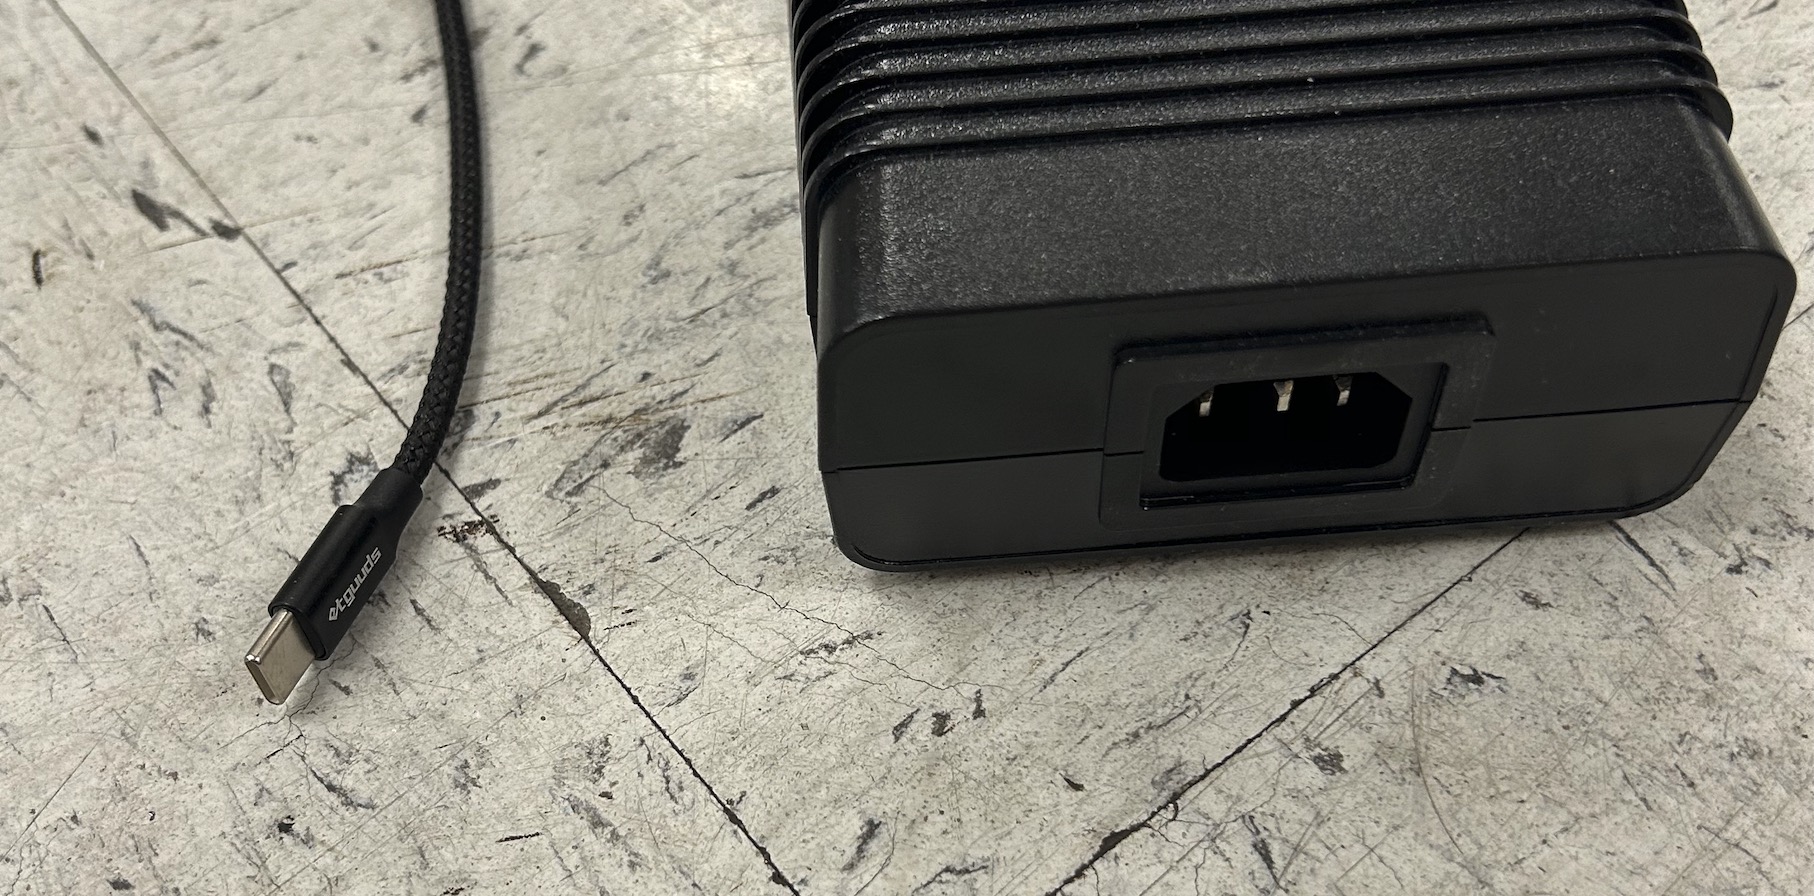
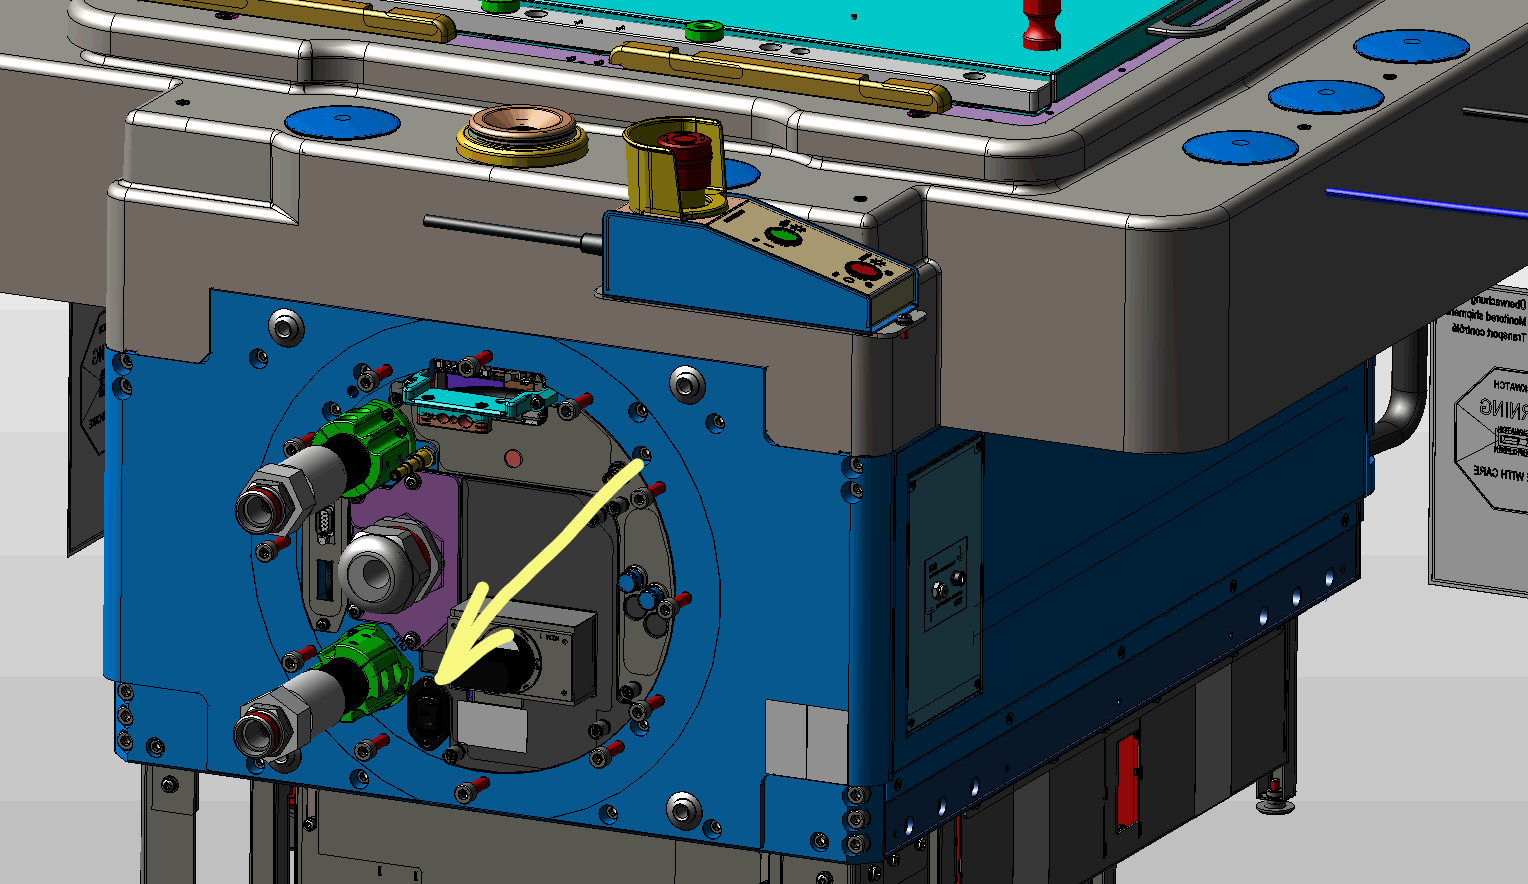
- AC Power to IEC-320 C14 Male Plug AC Power mains supplied by the V93000 or switched EMO controlled outlet (See Figure 1 and 2)
- USB Type C to the Advantest V93000 test cell computer
- POD1 and POD2 are plugged with RJ45 dust plugs, leave in place until use and reinstall plugs after use. These RIFL2 connections labeled for auxiliary instrument control; GPIB Instrument Pod included with the Calibration Kit.
WARNING: Avoid connecting to standard ethernet RJ45 ports with crossover cables as it could damage the network or Infrastructure ports. - Switch ON the AC Power
- Proceed with System Startup with Advantest Software (contact Advantest Support for details). If the software was installed correctly, the rTalk window should have Tester Loaded shown in the message widow before start of test.
- Latch the Fixture
WARNING: Fixture should remain unlatched while a Startup is performed to avoid damaging sensitive components on the DIB board. - From the RTalk window, use the cassini > tester browse app and choose check to identify and activate the Fixture and DeviceInterface instruments and cal data.
- (Optional) Dock to Handler/Prober
Standard Shutdown Procedure:
- Unlatch Fixture from Handler/Prober
- Unlatch Fixture from Cassini C93K CTH Infrastructure
- Follow the Advantest Shutdown Procedure (contact Advantest Support for details)
To Power On the RI8611A Cassini V93K CTH Infrastructure:
- Unlatch and Remove any Fixture or Diag/Cal plate from the RI8611A Cassini V93K CTH Infrastructure.
WARNING: The DUT, DIB or Fixture could be damaged if the Fixture is latched while the system is starting up. Never add or remove TIMs while the Fixture is latched to the test head. - Connect the power to the AC cable to the GST360A48 360W AC-DC Switching Adaptor.
- (Optional) Switch ON from the Advantest Control or Switched Power strip.
- Proceed with Advantest ARIA Startup Procedure (contact Advantest Support for details)
To Power Off the RI8611A Cassini V93K CTH Infrastructure:
- Unlatch and Remove the Fixture or Diag/Cal plate.
- (Optional) Switch OFF from the Advantest Control or Switched Power strip.

Figure 2: AC Plug IEC320-C13 on Advantest V93K with EMO


