

The RIK0301A is a NUC (small form factor PC called "Next Unit of Computing") that runs on Ubuntu 20.04 LTS with xbuntu-desktop as the UI and VirtualBox OSE as the virtualization technology. It is intended to host up to 5 Cassini Virtual Workstations as a network appliance. Oracle VirtualBox Extensions license is NOT required because it is configured to use VNC with the OSE (Open Source Edition) version of Oracle VirtualBox.
See also
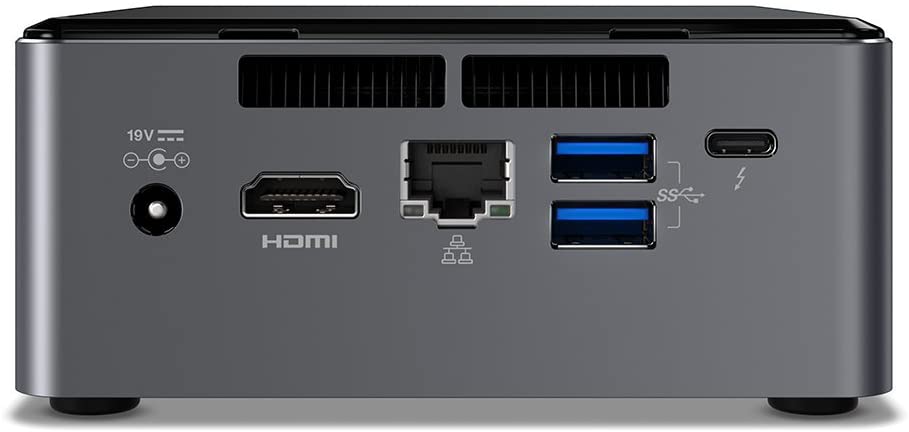
NUC Hardware:
- NUC Hardware (4.5in x 4.5in x 2in)
- 7th Generation Intel Core i5-7260U
- Intel Iris Plus Graphics 640
- M.2 22x42/80 (key M) slot for SATA3 or Pie X4 Gen3 NV Me or AHCI SSD
- Dual channel DDR4-2133 SODIMMs, 32GB maximum
- Thunderbolt 3 (40 Gbps), USB 3.1 Gen2 (10 Gaps) and DisplayPort 1.2 via USB-C
- AC Power Adapter
- (Optional) USB Keyboard/Mouse
- (Optional) Cat 5e/6+ Ethernet cable not provided
- (Optional) Monitor/HDMI Cable not provided
Software:
- xUbuntu 20.04 LTS
- Virtualbox OSE
- VNC Server for remote desktop access
- (Required) RIK0126A Cassini Virtual Workstation & OS License (sold separately)
- (Optional) TeamViewer for remote access/RI support

To Set Up Hardware
- Connect the NUC with supplied power adapter
- Connect Ethernet (cable not provided)
- (Optional) Connect Monitor via HDMI cable, USB Mouse, USB Keyboard. If these are not connected, access the UI via VNC by referring to the steps To Access xUbuntu (OS) via VNC (below).
- Briefly press the Power button to turn the system ON.
- Setup network (if needed) by clicking on the Network icon in the upper right corner and selecting Connection Information to display the IP address. If changes are needed, choose Edit Connections.... It is configured for DHCP and hardware Mac address is listed on the bottom of the device. (See Figure 4 and see Network Settings section below)
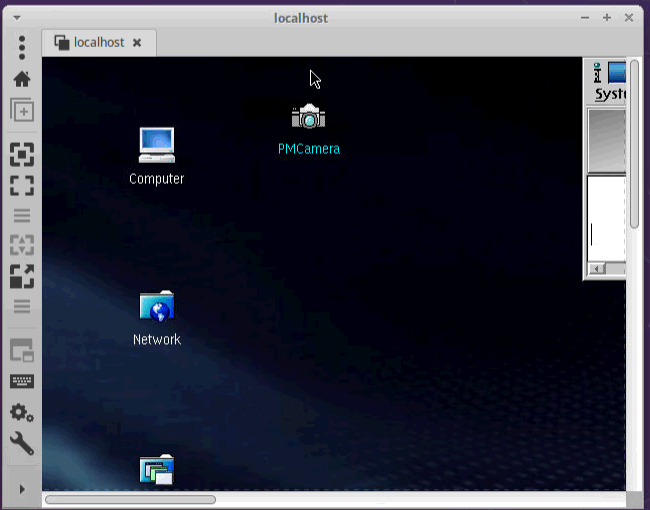
- System will boot directly to the desktop (user = cassini) (See Figure 1), proceed to Launch Cassini VM. If a monitor is not connected, use VNC to access the OS. (See To Access NUC OS (xUbuntu) via VNC below).
To Launch Cassini16 VM:
- Double click the "Cassini16..." icon in the upper left corner. (See Figure 1)
- It is configured to launch Full Screen (See Figure 2).
To toggle this feature, press HOST(right CTL)+F or move your mouse to the bottom of the window and a Virtualbox Menu will appear, choose View > Full Screen Mode. - Once the OS starts, Guru will launch automatically. If it is not already configured, proceed to LogOn and choose Apps > Guru Address Book Admin to setup Guru Server Update/Backup connections.
- The VM is configured to "Save State" when the OS Shutdown is detected or the device is powered off. This allows the VM to resume quickly without "booting."
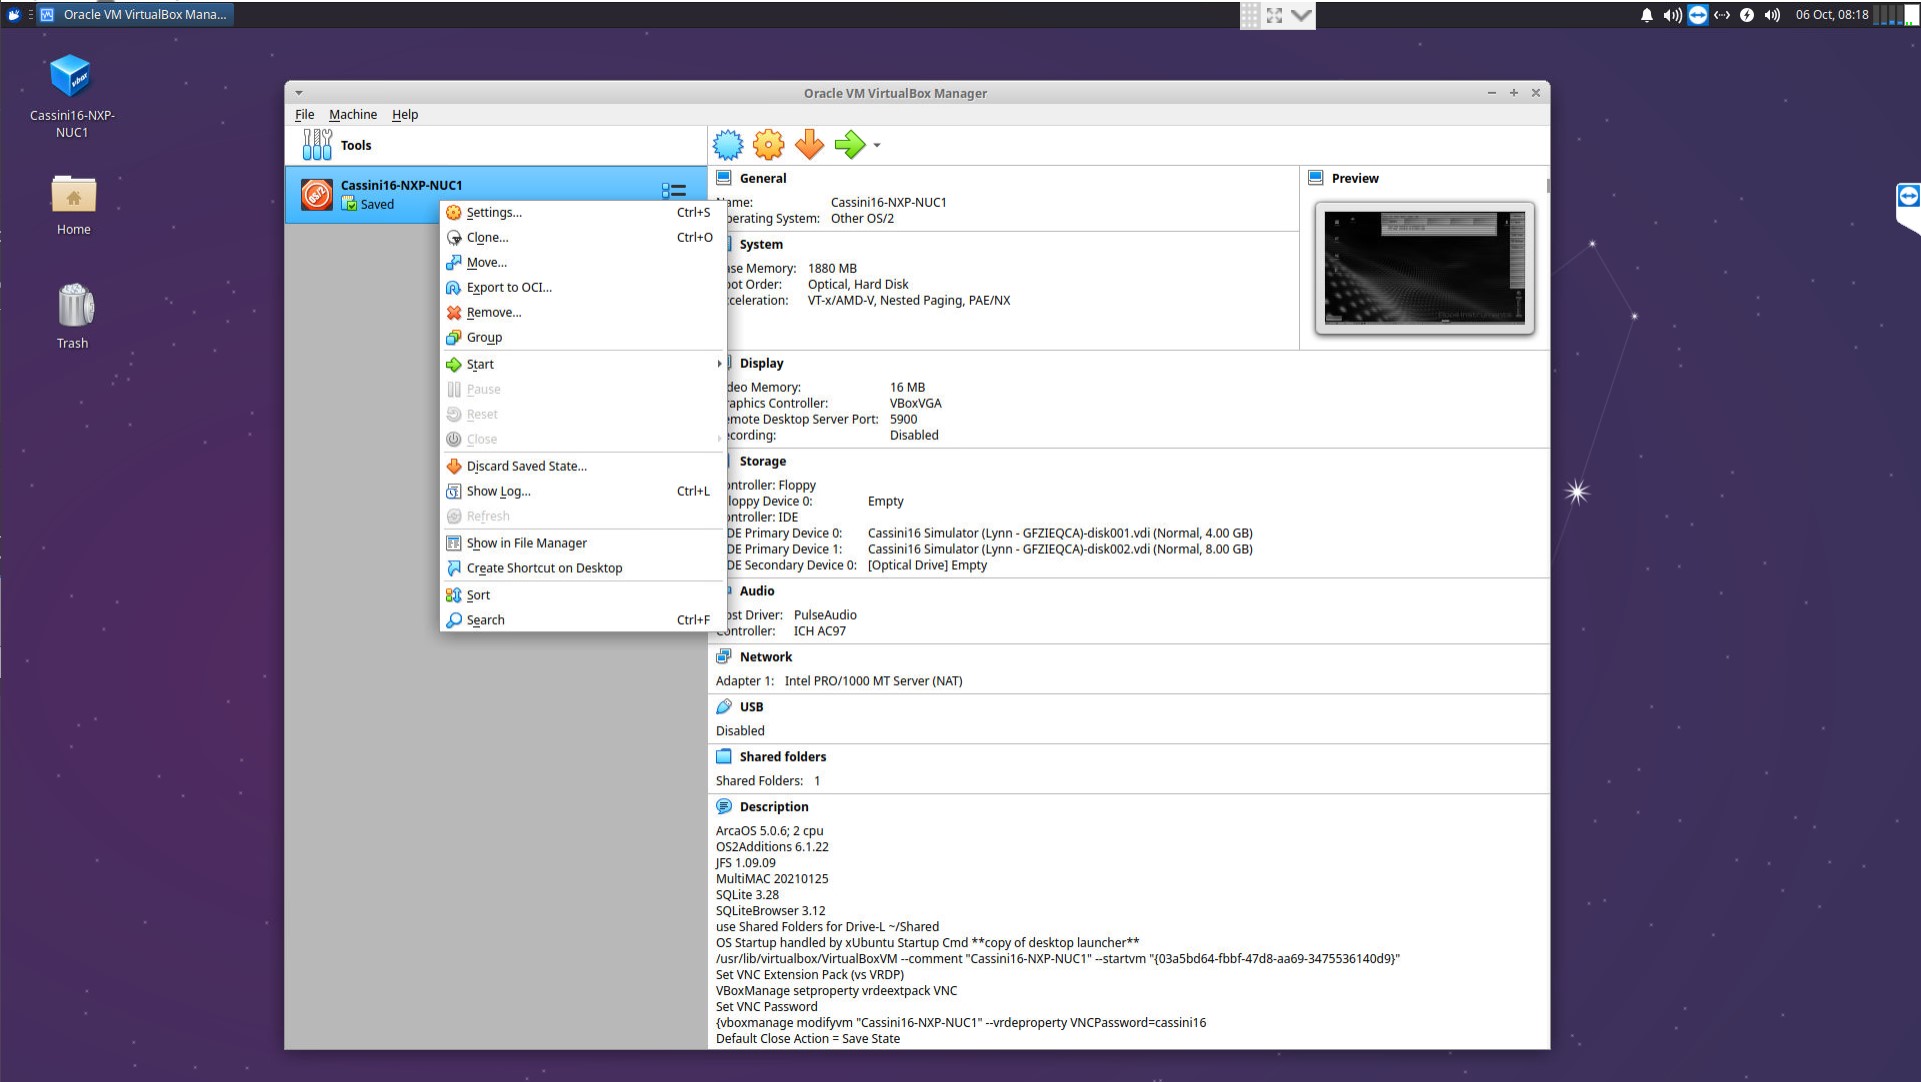
- If a problem is encountered, launch the Apps > Virtualbox application and use the Machine menu to "Discard save state" and "Start > Detachable" to resume. (See Figure 5)
To Access NUC OS (xUbuntu) via VNC:
- Connect with any VNC client to the NUC's IP address or host name on the standard VNC port (5901). vnc://AAA-NUC1:5900 or vnc://10.9.34.23:5900 (replace 10.9.34.23 with the actual IP address)
Get the IP address from the Networking Information page or typing "ip addr" in a terminal window.
Note: While the VM is running full screen, this connection can also be used to interact with the VM, although with a bit higher latency (worse performance).
To Access Cassini16 VM via VNC:
- Connect with any VNC client to the NUC's IP address or host name on the standard VNC port (5901). vnc://AAA-NUC1:5901 or vnc://10.9.34.23:5901 (replace 10.9.34.23 with the actual IP address)
Note: The VM must be running (not saved or powered off) to access via VNC. Get the IP address from the Networking Information page or typing "ip addr" in a terminal window.
Note: Machine Settings > Display > Remote Display > Enable Server with Server Port 590X must be enabled.
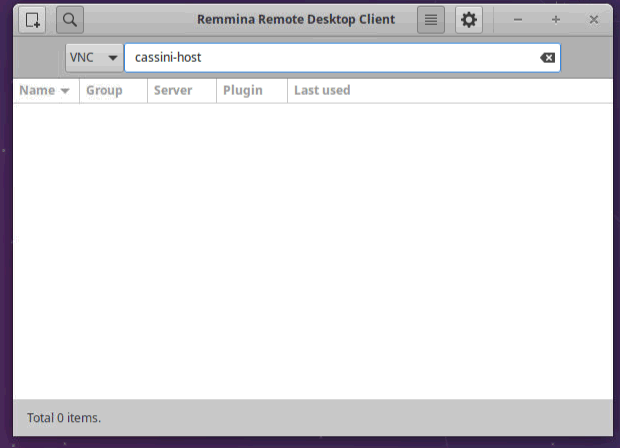
To Access a Cassini Tester with Remmina (from the NUC):
- Launch Remmina app by clicking on the Apps button in the upper left corner and selecting Remmina.
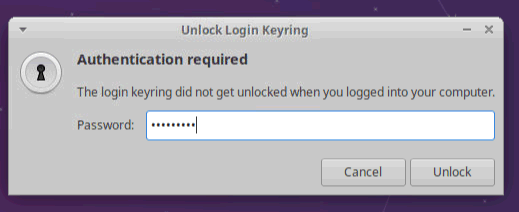
- Enter "cassini16" when prompted for a password and choose Unlock (this is to protect the VNC password stored for the tester)
- Enter the Tester's IP address or host name in the VNC prompt and press Enter key.
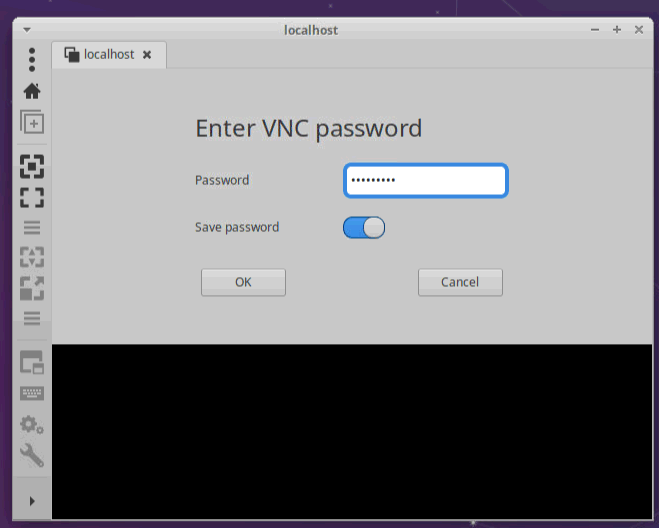
Note: if the VM is running headless, enter "localhost" to connect with the locally running VM. - Enter the VNC password of the Tester and toggle Save password on and press OK.
- Use the tester remotely, press + in the upper right corner to fill the screen.
To Install Additional/New Cassini VM
Follow the
Figure 1: xUbuntu Desktop
Figure 2: Cassini16 VM running Full Screen Mode
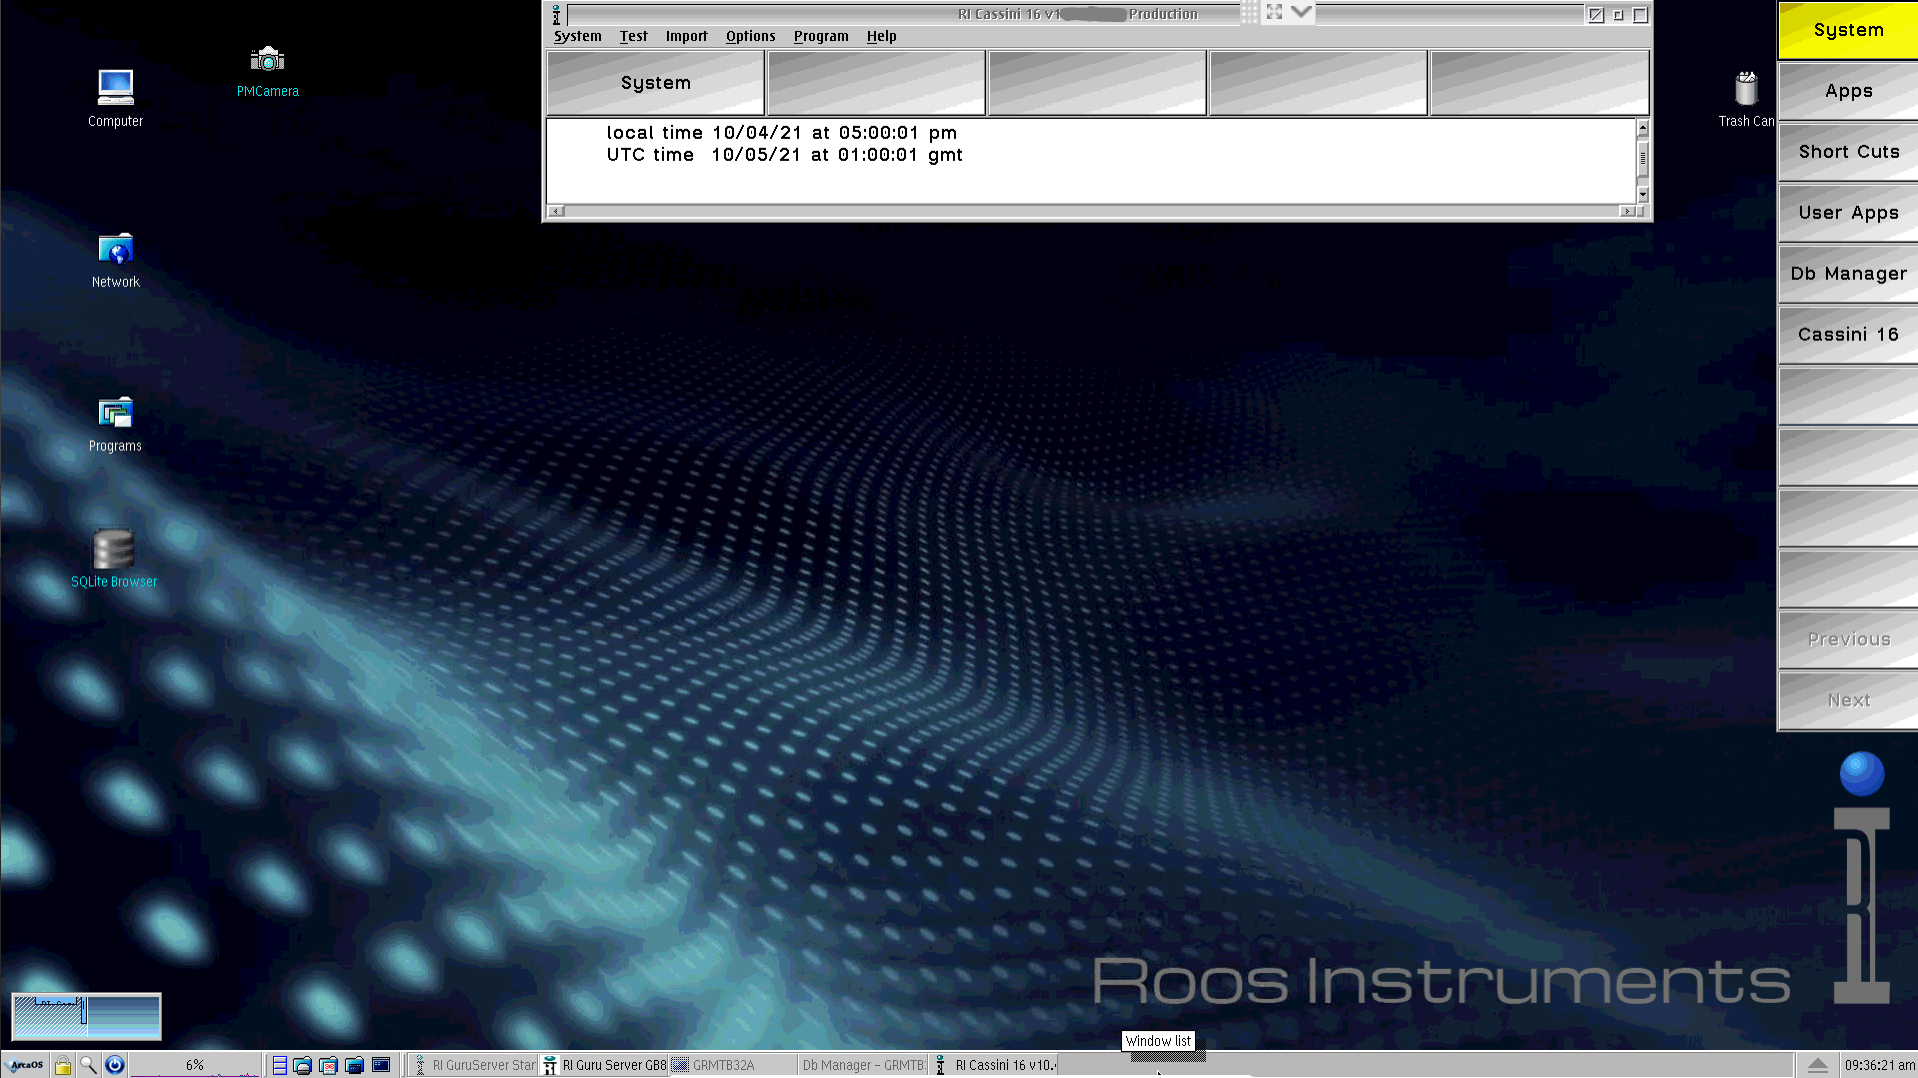
Figure 3: Apps
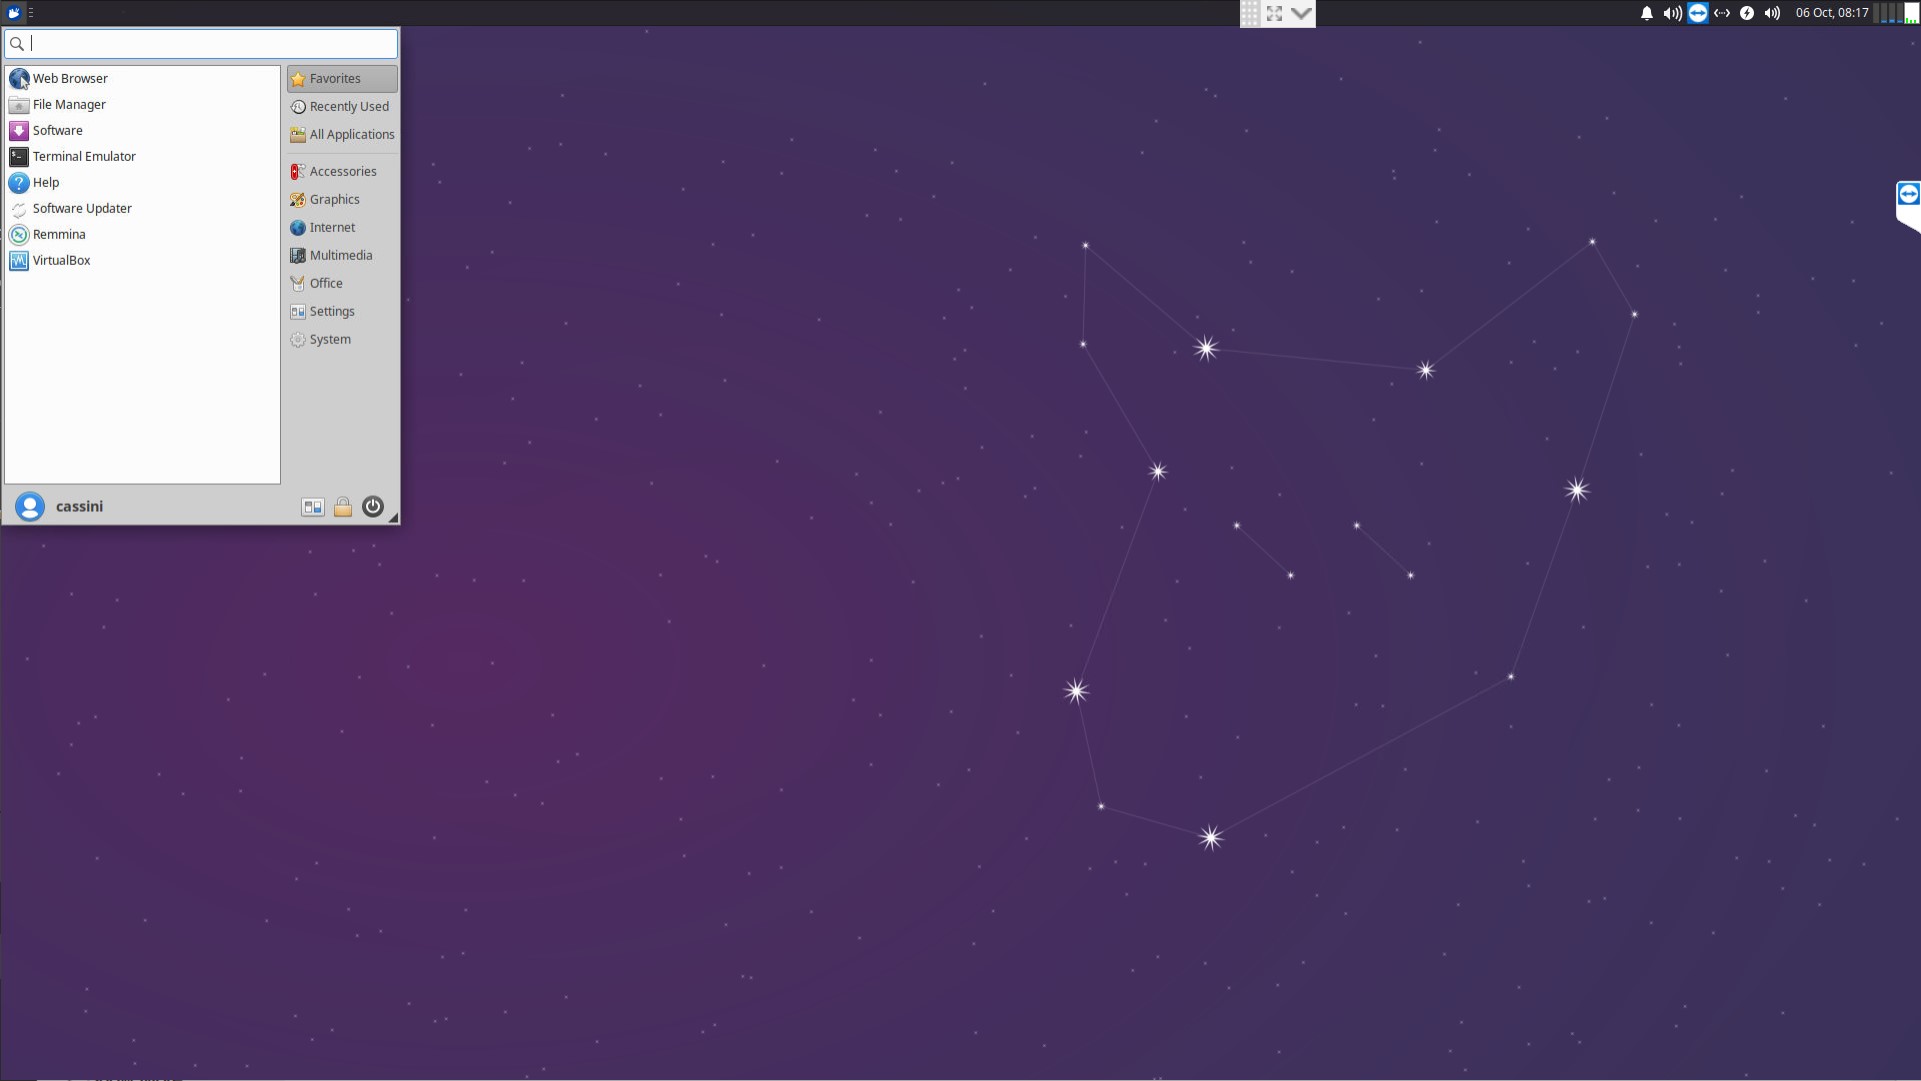
Figure 4: Networking
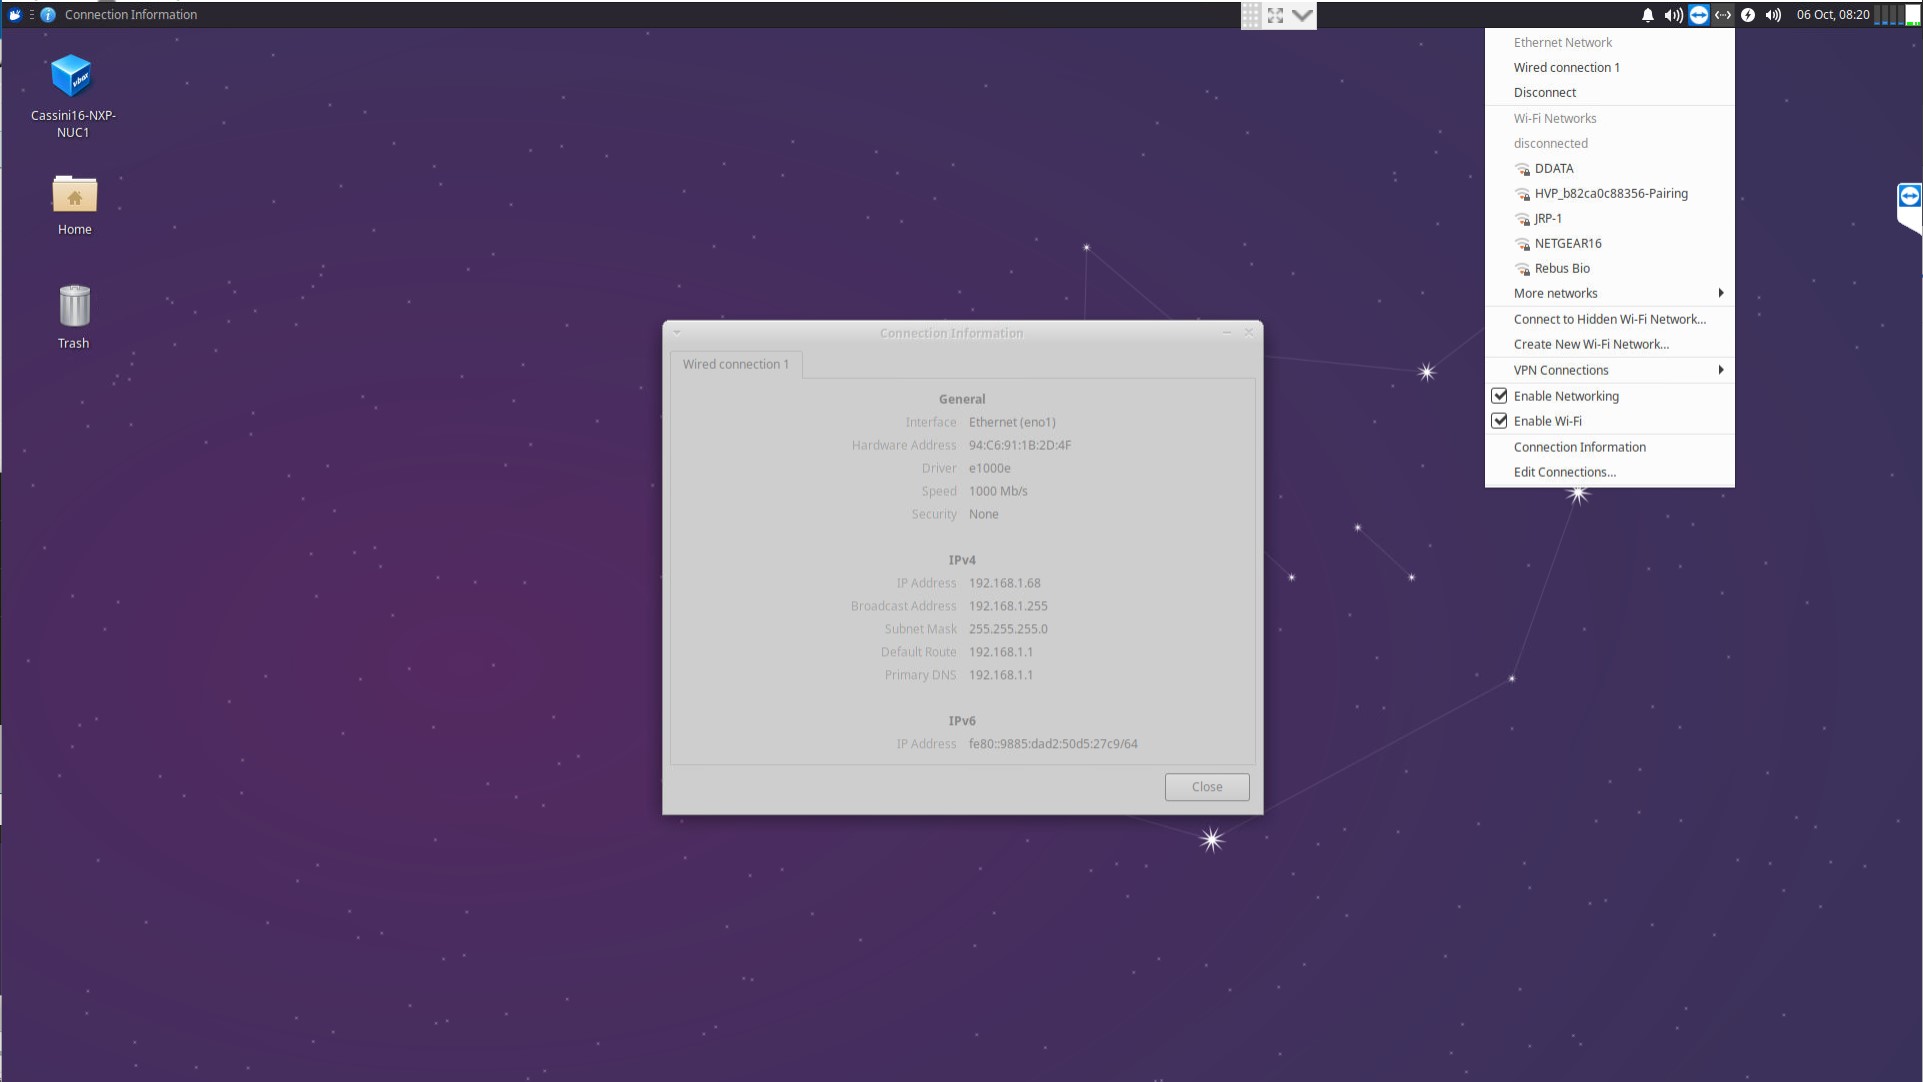
Figure 5: VirtualBox Manager
OS Administration
There are 2 interfaces used to administer VM. Graphically via a physical Montitor/Keyboard/Mouse or remotely via SSH terminal session.
Default Ubuntu username/password = cassini/cassini16
(note: SSH prevents "root" logon, use "cassini" then start commands with "sudo")
VM Launch Script
VM is launched at startup with a SystemD script. If the name of the VM changes, this launch script should be updated as well. Enter the following commands in a terminal command prompt or via ssh. The cassini password "cassini16" will be needed. Note: this capability is not currently functional. Please contact RI support for details.
To start: sudo systemctl start vbox@<VM Name>
To stop: sudo systemctl start vbox@<VM Name>
To disable on restart: sudo systemctl disable vbox@<VM Name>
To enable on restart: sudo systemctl disable vbox@<VM Name>
Using Desktop
The the standard way to interact directly with the Host is remotely via VNC or physically via a physical HDMI connected Monitor and USB Mouse/Keyboard. The command line interface (terminal or ssh) should only be used for OS activities. Command line interface can be opened via the local and remote terminals, however SSH is recommended for best remote admin performance.
Since some of the configuration changes do not have a graphical user interface. Use "sudo mousepad /path/to/file" from a terminal to open a graphical based text editor.
From a command line: "ssh cassini@<hostname>" and follow "from Terminal" instructions (where available).
Using VNC to access the VM
Access the VM via VNC at the same hostname or address as the Host. The VNC extension pack that is included with the OSE (open source) version of VirtualBox is enabled. This changes the VNC config from using RDP (Remote Desktop) which requires an Oracle Extension Pack License, to use VNC protocol.
vnc://hostname:5900
The Virtual Machine must be running.
Network Settings (IP Address, DNS, host name, etc.)
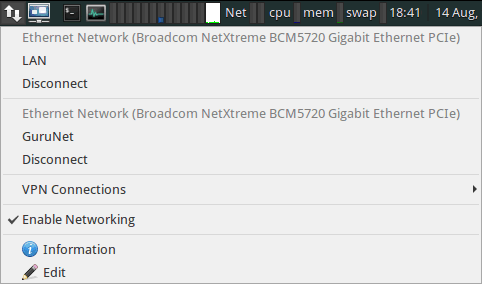
"NetworkManager" is used to connect to LAN. LAN is managed by company IT. See also Xubuntu Documenation - Network Connections.
From Desktop:
- Click on the NetworkManager icon in the task bar. Click "Edit" to change settings, "Information" for IP address information. Follow the dialog prompts to make any changes.
From Terminal:
- "ip addr" to see the current IP address
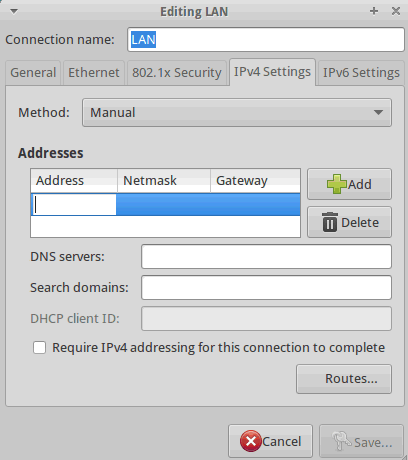
"sudo nano /etc/NetworkManager/system-connections/LAN"
For Static IP: edit "[ipv4]" to include "method=manual" and "address1=10.0.0.1/24,10.0.0.1" (address/net, default route)
Proxy Setting
Collect your network's proxy information. There may be differences between HTTP, HTTPs and FTP. replace localaddrses with the IP address of your machine, and .localdomain.com with your domain's global DNS.
From Terminal: "sudo nano /etc/environment", add the following lines. Note: You must duplicate upper case and lower case because some programs only look for one or the other.
- http_proxy=http://myproxy.server.com:8080/
https_proxy=http://myproxy.server.com:8080/
ftp_proxy=http://myproxy.server.com:8080/
no_proxy="localhost,127.0.0.1,localaddress,.localdomain.com"
HTTP_PROXY=http://myproxy.server.com:8080/
HTTPS_PROXY=http://myproxy.server.com:8080/
FTP_PROXY=http://myproxy.server.com:8080/
NO_PROXY="localhost,127.0.0.1,localaddress,.localdomain.com"
Some newer GTK3 programs rely on the Gnome settings instead. To make sure they are covered, open a terminal and paste the modified lines below, one at a time:
- gsettings set org.gnome.system.proxy mode 'manual'
gsettings set org.gnome.system.proxy.http host 'myproxy.server.com'
gsettings set org.gnome.system.proxy.http port 8080
- Acquire::http::proxy "http://myproxy.server.com:8080/";
Acquire::ftp::proxy "ftp://myproxy.server.com:8080/";
Acquire::https::proxy "https://myproxy.server.com:8080/";
NTP Setting
From Terminal: "sudo nano /etc/ntp.conf", update "server <hostname>" where <hostname> is the IP address or host name of the local NTP server..
See also Ubuntu Official Documentation - Time Synchronization with NTP.
Timezone
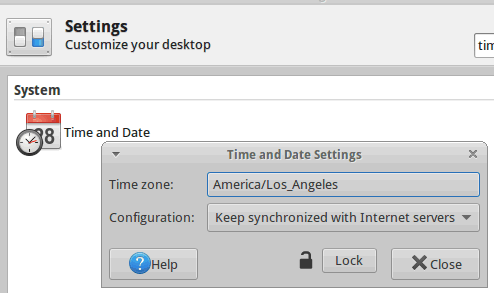
First click "Unlock", enter password, then click on the "Time zone:" field to select the appropriate time zone.
See also Ubuntu Community - UbuntuTime.
Mount Shared Network Drives (NFS or SMB)
IMPORTANT: /RiGuru and /RiApps should NOT be hosted on a remote NSF server without proper tuning.
From Terminal: "sudo nano /etc/fstab"
- Then add a line with this general syntax to connect to NFS server.
example.hostname.com:/ubuntu /local/ubuntu nfs rsize=8192,wsize=8192,timeo=14,intr
Then add a line with this general syntax to connect to SABMA or Windows server.
//myserver_ip_address/myshare /media/samba_share cifs credentials=/etc/samba/user,noexec 0 0
Shared Folders (Samba)
From Terminal: ""sudo nano /etc/samba/smb.conf" Modify [global] or [Public] with changes.
See also Ubuntu Official Documentation - Samba
Change Software Update Country
NOTICE: Regular software updates are NOT recommended. You SHOULD apply urgent security updates regularly or when requested by Roos Support.
Software updates are configured for United States. To improve update performance, change "Download From" to your country name.
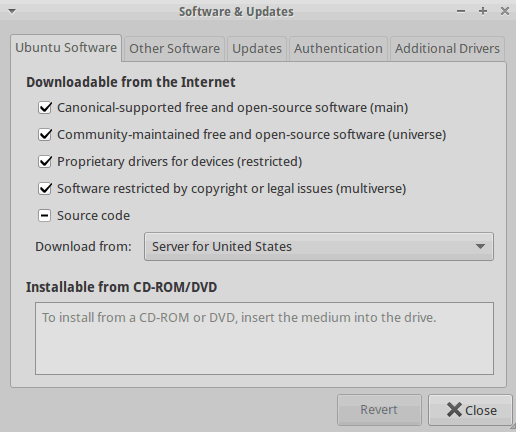
From the Updates tab, uncheck "Recommended" and "Unsupported" from the Updates tab to only include important security updates.
See also Xubuntu - Managing installed applications
SystemD Start Script
(based on https://serverfault.com/questions/939078/how-can-systemd-autostart-and-control-virtualbox-guests)
systemctl edit [email protected] --full --force
Description=Virtual Box Guest %I
After=network.target vboxdrv.service multi-user.target
Before=graphical.target shutdown.target
[Service]
User=cassini
Group=vboxusers
Type=forking
Restart=no
TimeoutSec=5min
IgnoreSIGPIPE=no
KillMode=process
GuessMainPID=no
RemainAfterExit=yes
ExecStart=/usr/bin/VBoxManage startvm %i --type separate
ExecStop=/usr/bin/VBoxManage controlvm %i savestate
[Install]
WantedBy=graphical.target
systemctl daemon-reload
sudo systemctl enable vbox@Cassini16... # Start the VM on boot, enter real VM Name!
OS Software Update
Notice: Security updates should be applied, unless instructed by Roos Support, regular updates do not need to be applied for reliable functionality.
With a internet connection to port 80 & 443 (https), software update dialog will appear based on the frequency it is set to check.
Update can be run anytime:
See also Xubuntu - Managing installed applications
To Access NUC OS (xUbuntu) via TeamViewer:
1. The NUC may come pre-configured with TeamViewer to be able to easily allow RI support remote access. This does require a temporary connection with the Internet. The ID and Passcode may be changed and will have to be shared to allow remote access. TeamViewer can also be configured to allow LAN access, allowing another workstation to bridge the LAN/WAN isolation.
Prerequisites:
1. Ubuntu 20.04 LTS or later installed
2. "cassini" user account with auto-login privileges (this is typically set-up during the install process and is not in the scope of this document)
Install xubuntu-desktop, Oracle VirtualBox
1. Create a new user for cassini (follow platform guidelines)
2. ssh to public IP of host (or set up DNS A record and use the hostname) ssh cassini@<hostname>
3. Install xUbuntu
sudo apt-get install xbuntu-desktop xrdp tcsh ntp vino
4. Visit VirtualBox.org, follow the steps under "Debian-based Linux distributions" or choose Downloads and and download the link Ubuntu 19.10 / 20.04 / 20.10 / 21.04 ( https://download.virtualbox.org/virtualbox/6.1.26/virtualbox-6.1_6.1.26-145957~Ubuntu~eoan_amd64.deb ) or
5. (Optional) Remove all non-essential Ubuntu packages (like open office) to save time performing updates and reduce SSD footprint.
6. Reboot the OS.