With the RI8574A ArcaOS EPC, the Window List widget shows the open applications' windows with an icon and window title along the eCenter, task bar typically placed along the bottom of the screen. If this widget is removed (See Figure 6), it can be restored again by following the steps below. After a desktop configuration is set, it should be archived so that it can be easily recovered from the ALT+F2 menu during startup. This can also apply to the ArcaOS Desktop used with Cassini in Container with the RI8608A Linux NUC System Controller.
To Add the Window List Widget to eCenter:
- Carefully right click in a three pixel column just to the left of the time widget on the eCenter or just to the right of the power icon.
- Choose Create new widget > Window List from the right mouse button menu. The window list is added to the last position.
- Again, right click on any widget and choose eCenter properties from the right mouse button menu.
- Choose the Widgets tab and drag with the right mouse button to move the WindowList from the bottom (last) position to after the Tray widget. For example, after moving, the WindowList is now in position "6". (See Figure 4)
- Follow the steps To Archive Desktop to be able to recover these settings from the ALT+F2 menu.
To Archive Desktop:
- Right click anywhere on the desktop and choose Restart Desktop... from the menu. (Figure 5)
- Check Arcvhive Desktop once after restart and choose OK. Continue closing applications if prompted and allow the desktop to restart. (Figure 5)
- Confirm that the target window (telnetd.exe) is not visible in the task bar.
Figure 1: Cursor Position to access eCenter right click menu (vs the widgets menu)
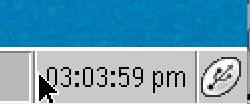
Figure 2: Create new widget > Window List menu
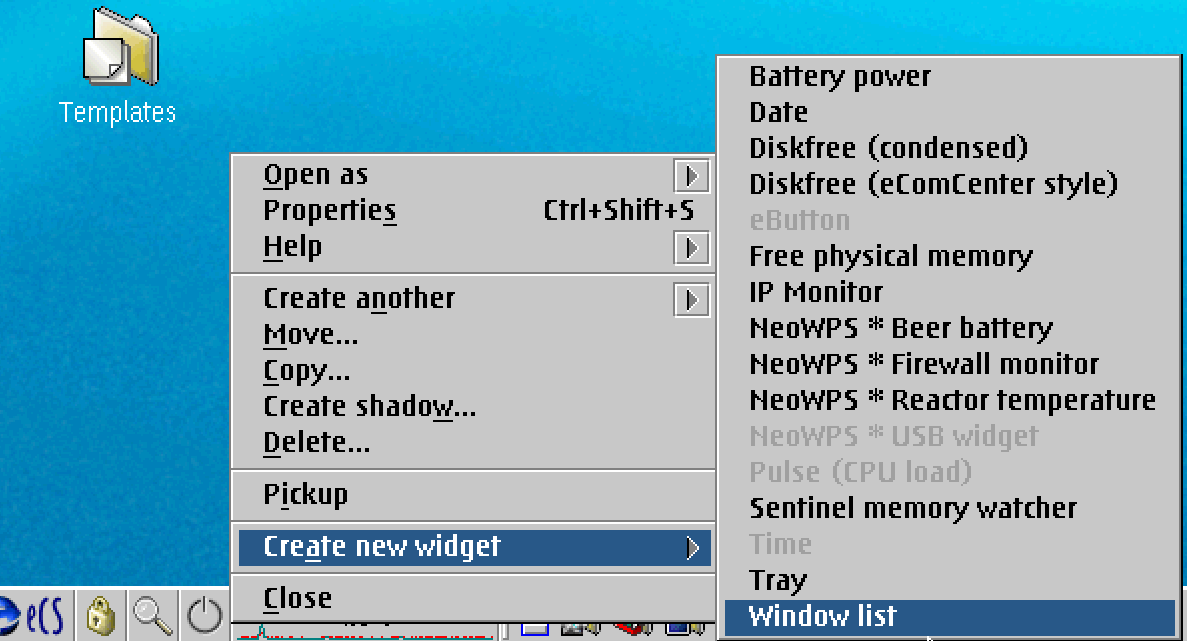
Figure 3: eCenter properties menu
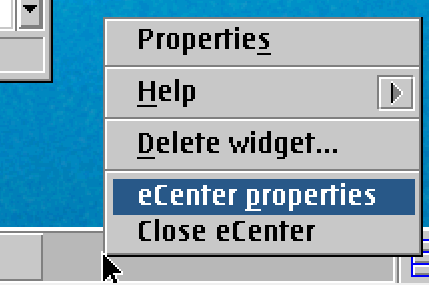
Figure 3: Window List Added to eCenter

Figure 4:eCenter Widgets properties, Drag with Right Mouse Button
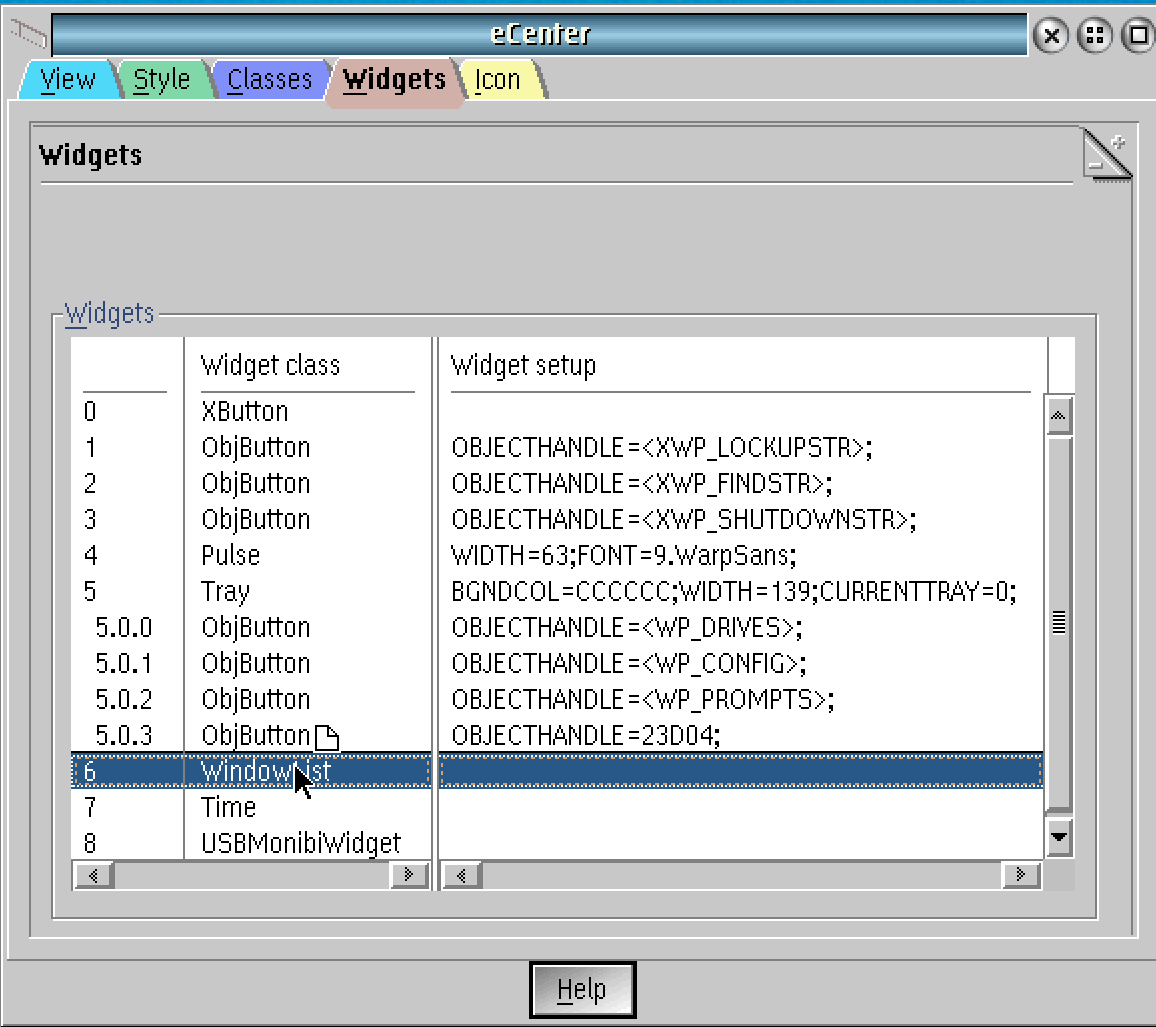
Figure 5: Archive Desktop after restart prompt
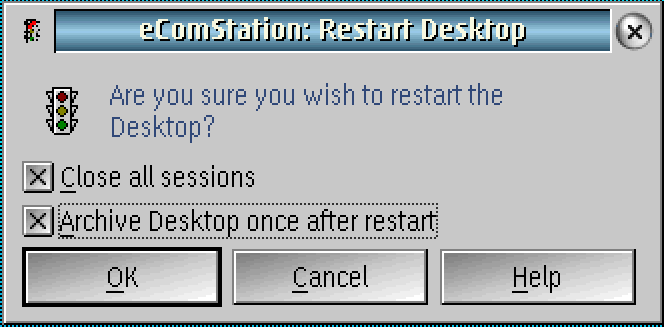
Figure 6:Remove Widget Confirmation


