

Diff. I/O Buffer Module, Advanced High BW
RIFL/Active Carrier, Differential I/O buffer, common mode adj. with I/O disconnect
Part Number: RIK0087A
Note: Compatible with RIFL and Active carriers, this module must be added to a Fixture Definition as an Instrument (RI75401A Fixture Diff Amp) with the Device Connection Editor Guru App and will appear in the Configuration window when the Fixture is activated.
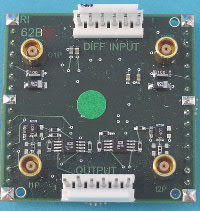
High bandwidth differential I/O buffer, with common mode adjustments and input/output disconnect switching.
The High Speed Diff IO Buffer module is comprised of a single ended to differential voltage and a differential to single ended voltage converter. Its intended bandwidth is DC to 40 MHz. Both the differential in to single ended out and the single ended in to differential out has a gain of 1 associated with it. Both the Differential in and the differential outputs are controllable (on/off). Also the differential outputs can have an offset voltage applied.
Digital Coax (Shielded), Differential Fixture Module
| Part # | Description | |
| RIK0189A | AC Coax Cables, 1x3 Shielded, Twisted Pair, 16" (qty 2) |
Related Documents:
Use with the Device Connection Editor
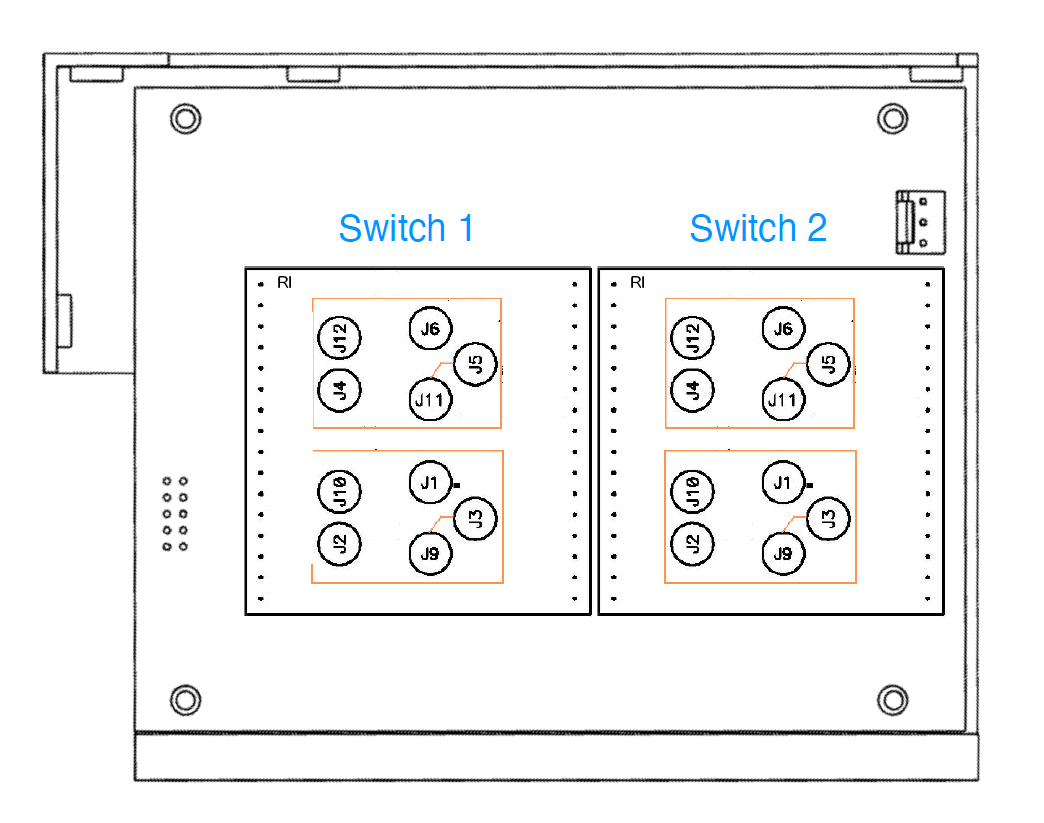
Install this module in any M location except M9 or M10.
Fixture Configuration Steps:
- Launch the Device Connection Editor from Guru > Apps.
- Load the Fixture by selecting the Fixture tab, then choosing Dev Con > Load Fixture menu, choose the appropriate entry and press OK.
- After the fixture has loaded, choose Dev Con > Edit Instruments... Right click on the left pane and choose Add.
- Select Ri74501A Fixture Diff Amp from the list and choose OK.
- Right click on the moduleMap Value (default of M1) on the right pane and choose Edit.
- Select the appropriate value that matches the M location that the module is installed, choose OK.
- Choose OK to close the Editing Instruments dialog window.
- Choose Dev Con > Save Fixture to save. Close the Device Connection Editor application. Next time the Fixture is activated, the "FixtureDiffAmp1" instrument is usable.
Using In Testplan or Control:
Select the FixtureDiffAmp1 instrument, control, and change the settings for Voffset1, Voffset2, Input and Output.
| Item | Ref | Part Number | QTY | Description | Category | Qty in Stock |
|---|---|---|---|---|---|---|
| 1 | GFSVCA2A | 1 | Ri74501A Fixture Diff Amp* | RInstrmn |

.jpg!OpenElement)
.jpg!OpenElement)
.jpg!OpenElement)
.jpg!OpenElement)
.jpg!OpenElement)
.jpg!OpenElement)
.jpg!OpenElement)
.jpg!OpenElement)
.jpg!OpenElement)
.jpg!OpenElement)
.png!OpenElement)
.jpg!OpenElement)
.jpg!OpenElement)